Get Started
On your own hardware
The client supports GPUs with Compute Capability from 7.5 to 12.0, except 8.7 and 11.0. Make sure you have an up-to-date device driver installed.
To run the client on your own hardware, ensure you have Docker installed.
If you don't need to monitor the client's status in real time, you can run it in the background:
The -d flag runs the container in the background and -q disables real-time status logs. Only status logs are suppressed — job completion logs are still saved and available for review.
To set an instance name that will be displayed in the pool statistics, use the -n flag:
Connecting the GPU to the container
Windows: Run wsl --install in a terminal and reboot your system. See the official guide for details. Make sure WSL 2 support is enabled in Docker Desktop.
Linux: Install the Container Toolkit for Docker by following the official instructions.
See the official documentation for possible --gpus values.
Renting compute power
If you don't have suitable hardware, you can rent GPU power on vast.ai (this link goes directly to the pool client template).
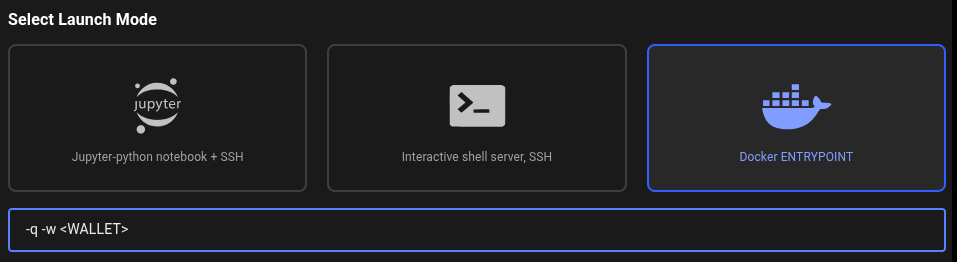
In the template settings, you need to add your Wallet Address. Go to the Select Launch Mode section, find the Args to pass to docker ENTRYPOINT field (which already contains -q), and add -w <YOUR_WALLET_ADDRESS> as shown below. Then choose an instance with a suitable GPU and launch it. Note that only instances with max.CUDA ≥ 13.0 are supported.
You can use any GPU rental service that supports pulling images from Docker Hub. Make sure to specify the correct image: btcpuzzle/client:latest.